

In most cases you would likely want to set Windows Hello for Business to be the default for all users to ensure they reap the benefits of passwordless login and instead use the enhanced security that comes with biometrics backed with a PIN code. However there may be cases where you either want to allow users to decide themselves if they wish to use Windows Hello for Business. More information on Windows Hello for Business can be found here Windows Hello for Business Overview (Windows) – Windows security | Microsoft Docs.
Maybe you are running a pilot and want to open up the floor to allow more people to test for you or there may be some company requirements to gain the users consent before adding them in to use Windows Hello for Business. This is possible but if you are like me you don’t really want to be maintaining a group full of test users so want to try allow the users to self serve in some way. This is possible by using a few different tools to combine together to come up with a solution.
What do we need to get this done?
Block Windows Hello for Business for All Users
Create an AAD group for this policy
Create another policy to enable Windows Hello for Business we can target to one group
Create a MS Form to capture the users consent and sign up for the service
Use PowerAutomate to populate the group thus adding them into Windows Hello for Business
MS List to capture the details for auditing if needed
Block Windows Hello for Business for All Users
So first of all if we do not want all users to be set up to use Windows Hello for Business we need to first block that at the top level. To do this in Intune go to the Devices pane, Windows Enrollment and then Windows Hello for Business
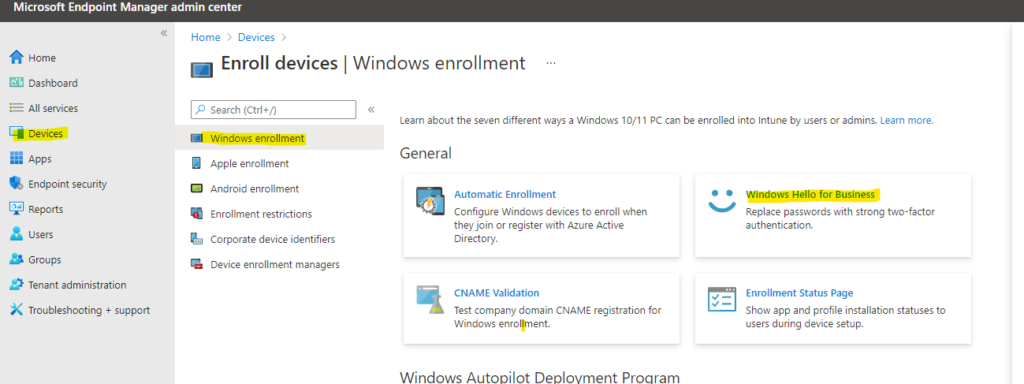
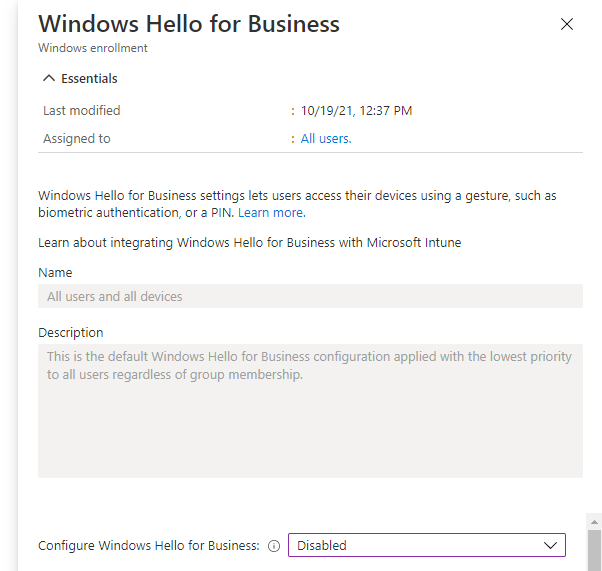
Within this new blade that appears set this to “Disabled” for Configure Windows Hello for Business. This will set the default setting to disabled for All users and all devices so the option is switched off then we can selectively turn it on later for our required users.
Create an AAD group for the new policy
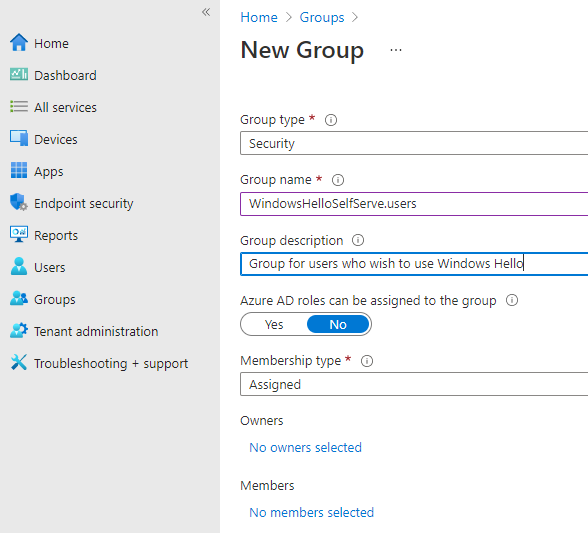
Next we want to create a new AAD group to target to the new policy we will create next. Go into Groups, New Group, then as you would usually give the group a name, description and set to assigned.
Create a new Windows Hello for business policy
Now we want to create a device configuration profile to set up Windows Hello for Business and then target this at the group we created in the previous step. I won’t go into great detail of each setting in this policy as that is dependent on your own security requirements within your company. We just need something so we can go through the concept behind getting the users into this policy.
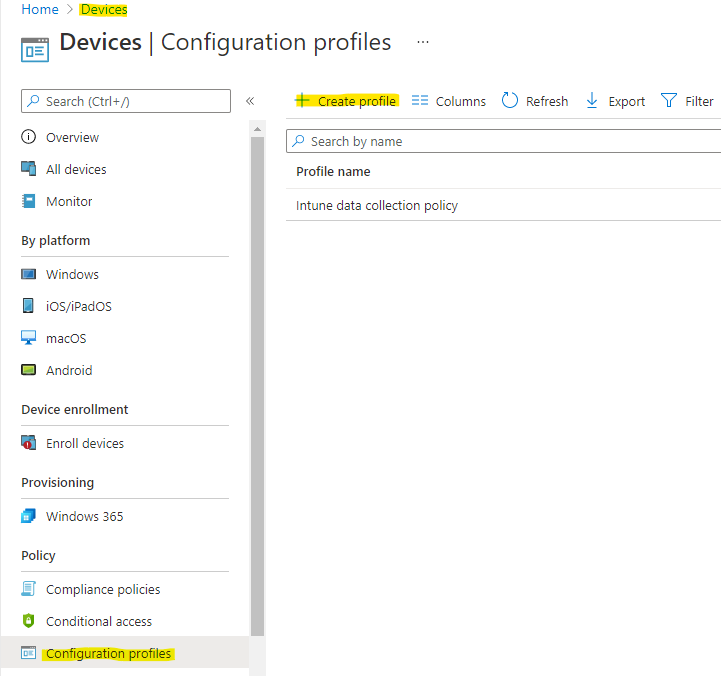
In Intune we will go to Devices, Configuration Profiles and then Create a New Profile
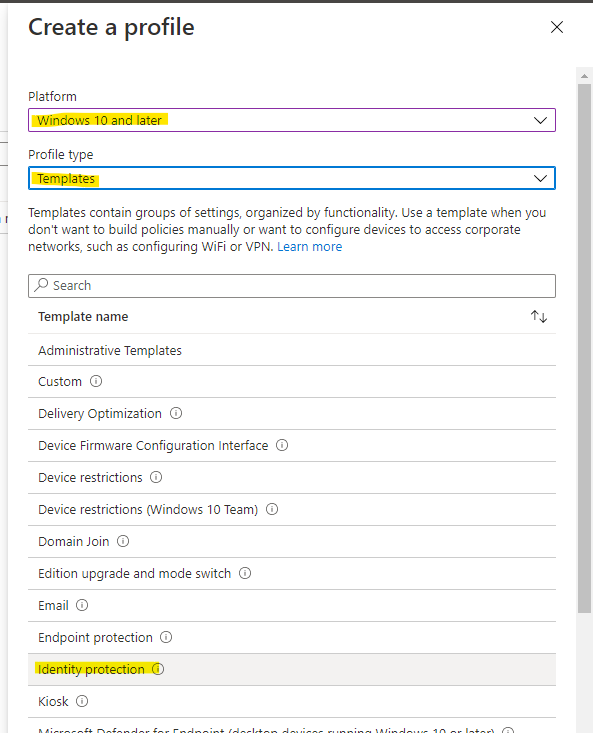
We now have a couple of options you can either select the new policy via a template or the settings catalog. The Settings catalog may enable some better reporting afterwards when applied but for my example I will just use template option as it is how I did it before. We want the Windows 10 and later option, followed by the Templates and then finally Identity Protection.
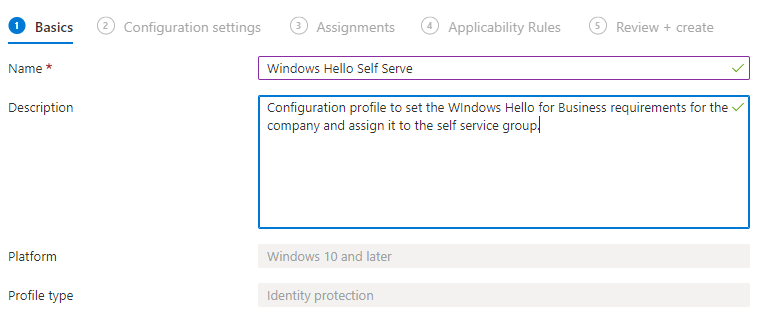
You can now name the policy something useful
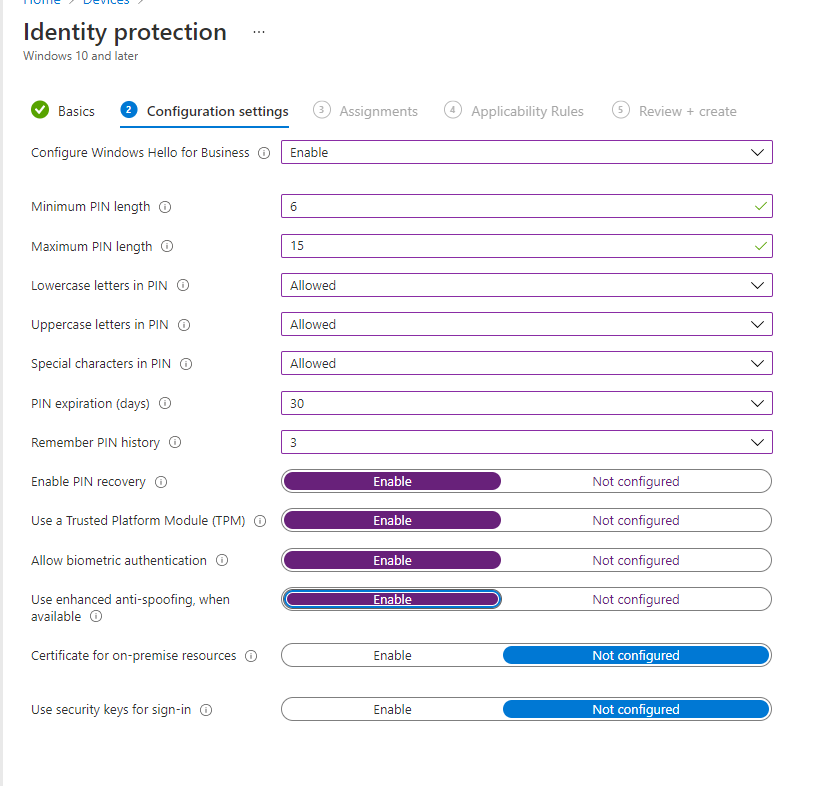
Now we get the options available to us for setting the requirements for Windows Hello for Business. Again please note this is not my recommendations as to what you need to set up here it is merely for getting a policy created we can use to demonstrate this. If you are not completely responsible for your companies client security seek assistance from the relevant team.
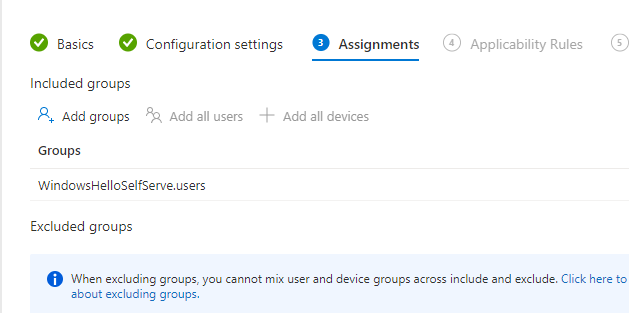
We now assign this policy to the group we created earlier to ensure the people that eventually get added to that group receive Windows Hello for Business and then we can next and finish through the remaining screens.
Creating the Microsoft Form for signing up
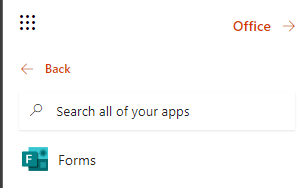
OK we now have the main policy blocked, a new policy set with the group assigned to it all we have to do now is the work for the users to be able to sign up themselves and to add them automatically to the group. To have somewhere to capture the users request to sign up we will use a simple Form. In the Office portal select the Forms option
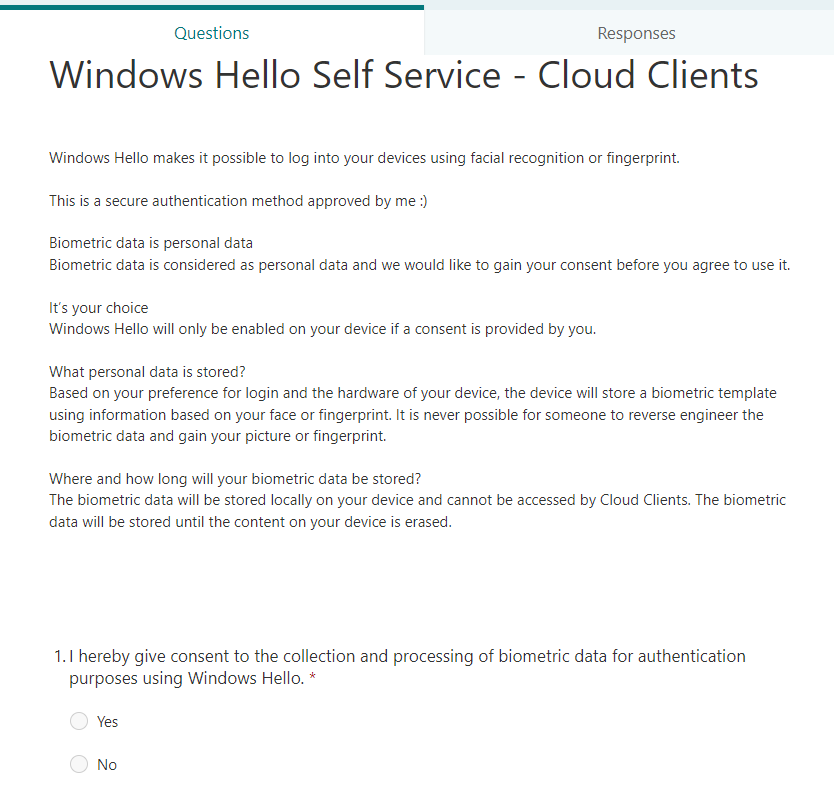
We can use the basic wizard to create a very simple form with any kind of disclaimer or message you may wish to show to the end user. Here we have an example that we are providing the users a choice to allow us to enable it if you have strict rules on gaining peoples consent. You can customize this how you wish so if it is a pilot test you can provide information on what you expect of the testers etc.
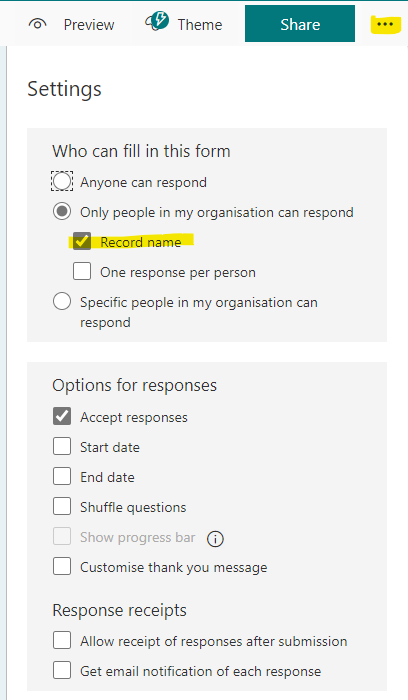
We want to check we are recording the user who submitted the form so we have a record of who it was, you can do this in the forms settings.
Use PowerAutomate to populate the group with the user
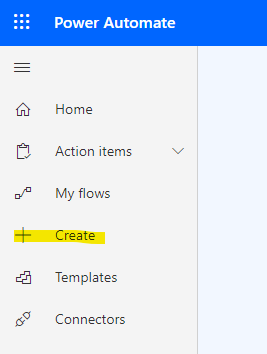
Another tool from Microsoft will now allow us to do all the hard work behind the scenes and automate the population of the group based on the users response to the form. Go into Power Automate in the office portal and when in there create a new flow
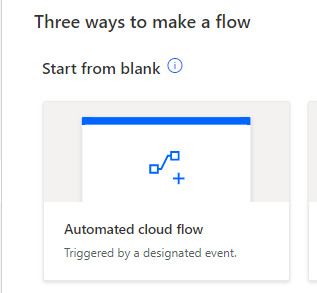
We now need to build out the flow using a few steps to decide what we want it to do and when. Because we are using a Form we want something to happen when a response to a Form is submitted so we can use the “Automated Cloud Flow” option
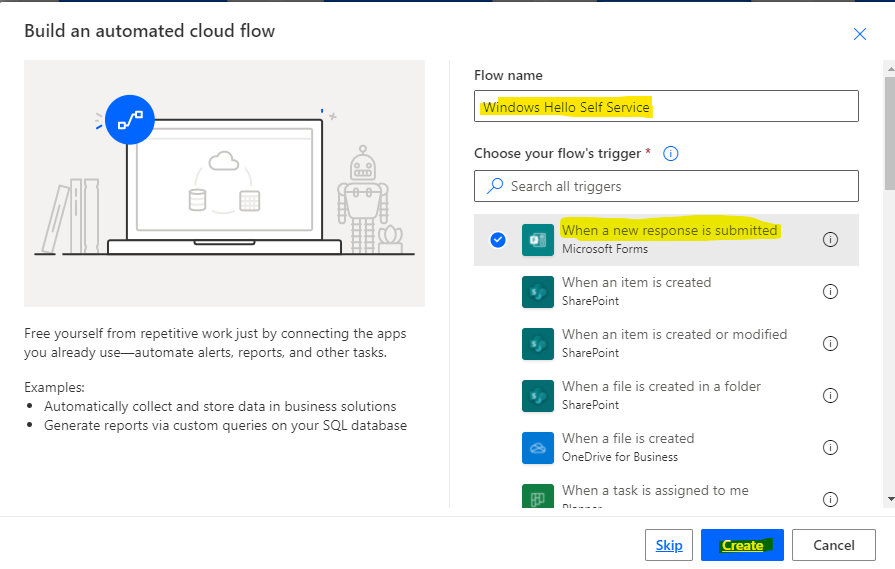
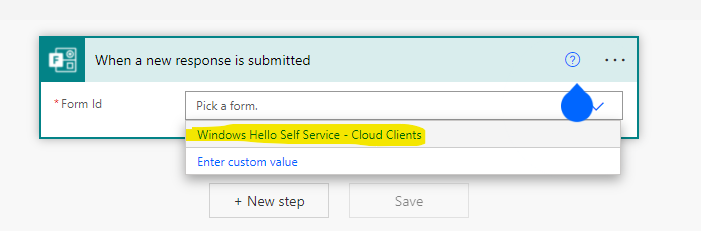
In the resulting wizard name the Flow and then choose the Form option “When a new response is submitted” and click Create
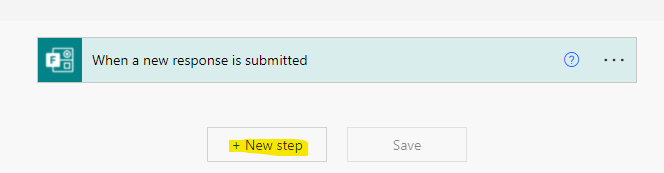
Next we need to add a new step so click on the New Step button
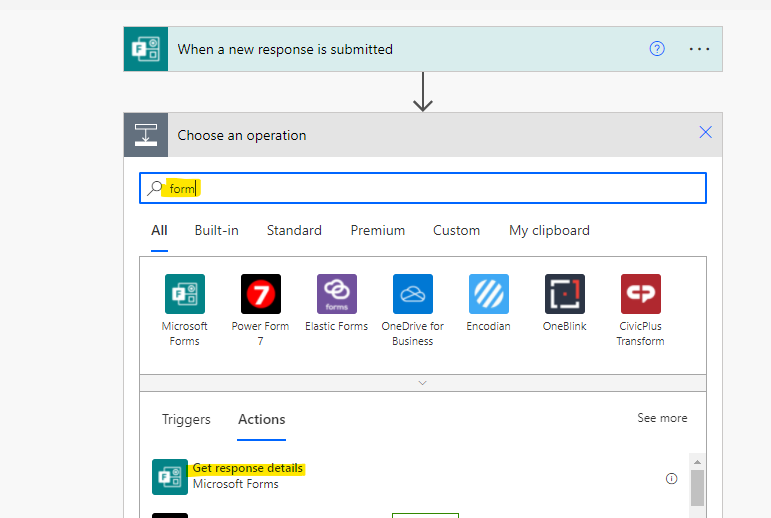
From the resulting window we now need to get the responses from that form to use later, if you type in “form” to the search you will find the option for “Get response details”.
Once added you will be able to again select the form and then in the Response ID field select the Response ID so the flow will now look something like the below

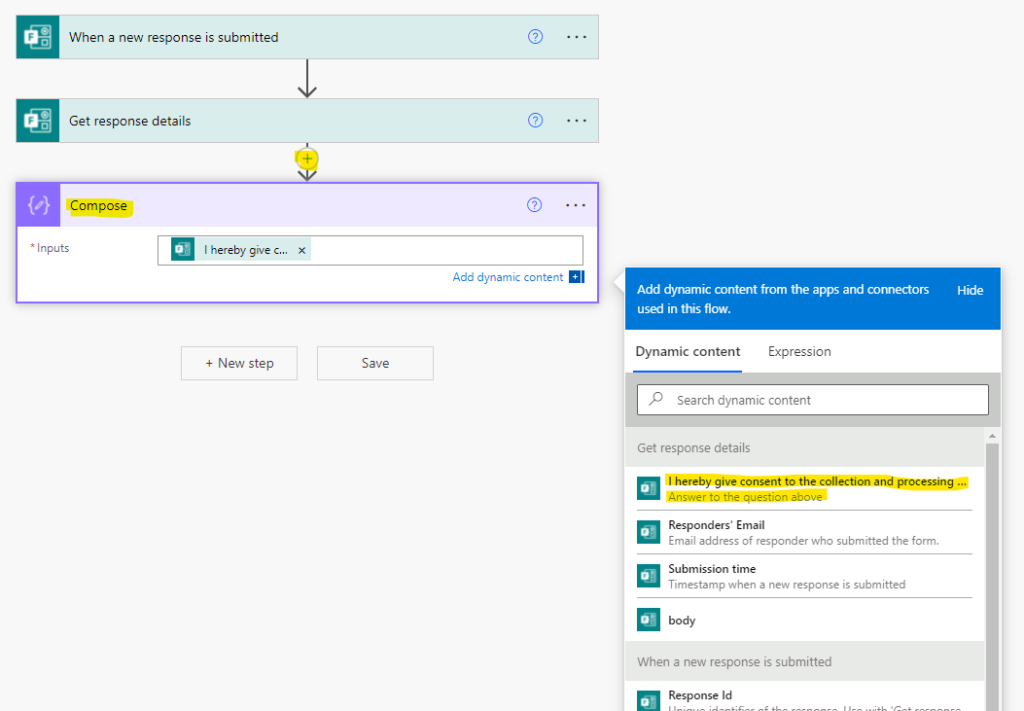
Now go through the same process as before selecting a new step, search for the “Compose” option and from the resulting window we want to select the “Response to the question” on the original form like below;
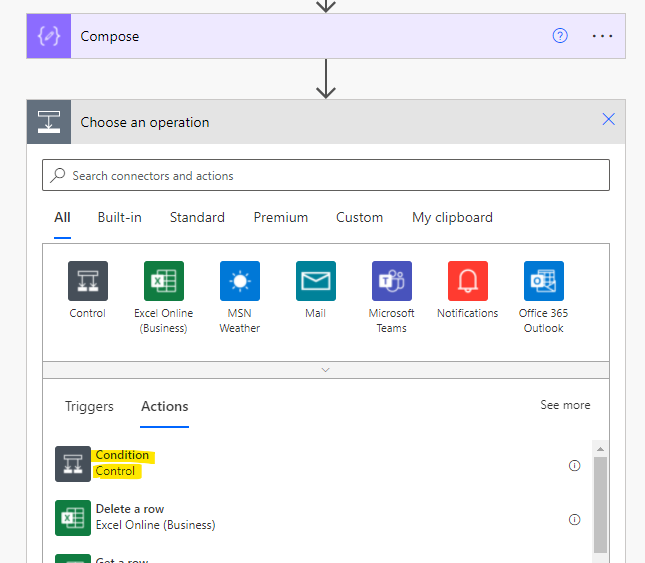
Now we can decide on what we want to do with that action so we need to take the input from the Compose step and output that into a “Condition” to allow us to do some different things based on the users answer. Add a new step selecting the “Condition” control
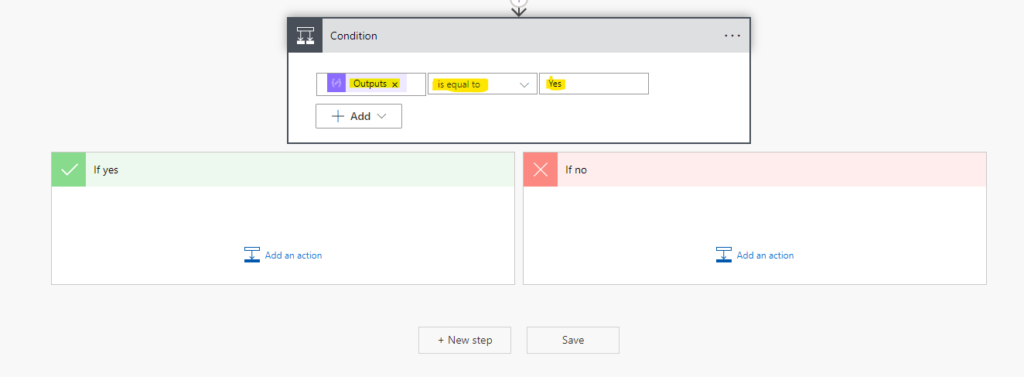
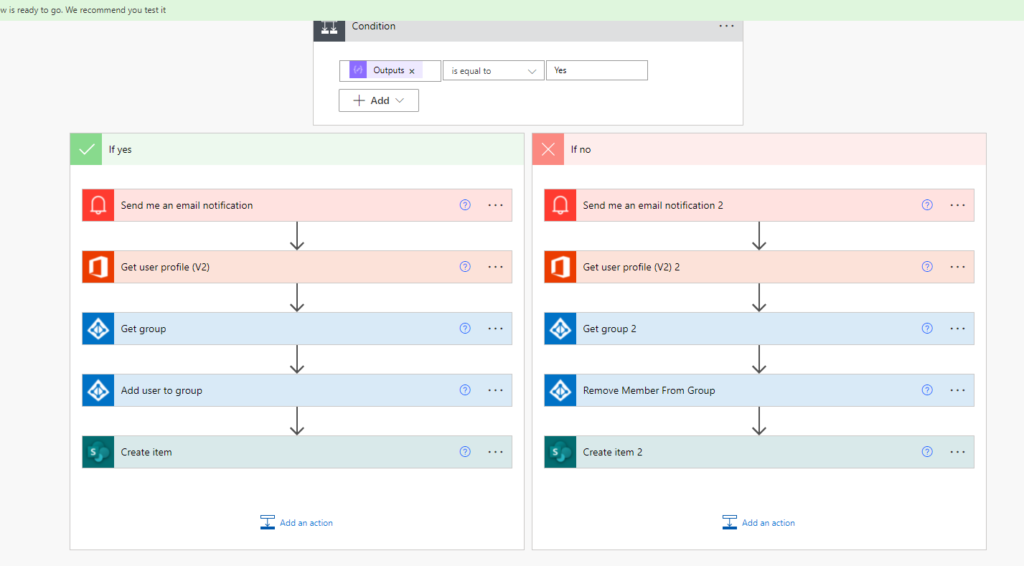
So we want see if the Output from the question originally asked in the form is equal to Yes, if so we want to follow some certain actions, if no we can then have it follow a different process completely.
So now I will give some examples of what you could do with this if desired and how to get the user into the group. Not all of these are required for example you may have no desire to receive an email when a user signs up but initially you may want to do this to be notified people are using the service. Also one of my steps is to record the users consent in a List that can be used for auditing if required. You can omit these steps if you wish.
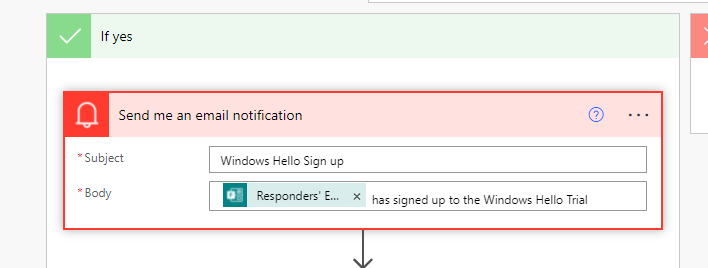
To send yourself an email notification you could do something like the below using the “Send me an email notification” action. As you can see from the title it says “me” so you will get this mail yourself as you are setting up the flow. I just do this as a quick test at first to ensure the flow runs I get a quick response without having to check back.
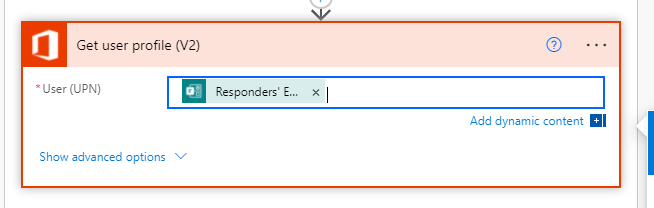
Next up we need to convert the users email address that responded to the Form into a users UPN name we can use in AAD for the group membership. So we want to use the “Get user profile (V2) step for this and select the “Responders Email” from the form as the data
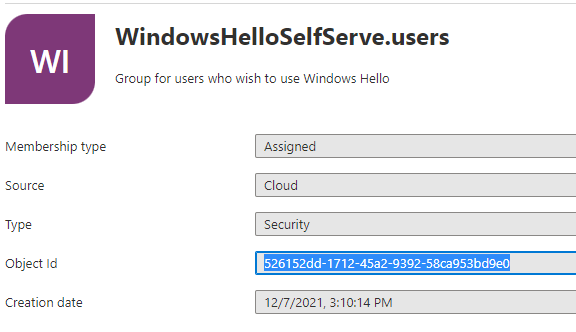
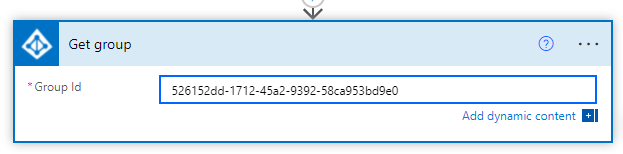
We now want to get the group that we wish to add the user to so for the next step we want to add the “Get Group” step to the flow and for the group ID we need to get the object id from AAD for the group we created and add this in
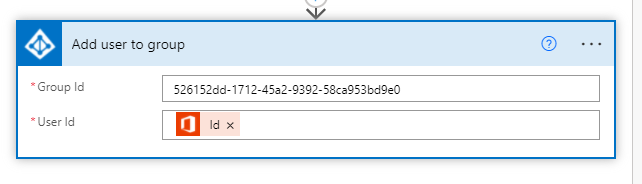
Next we want to add the user we gathered earlier and add them to the above group. So we want to use the “Add user to group” step into the flow and populate it with the group id we captured earlier and the user id we gathered. It should look like the following;
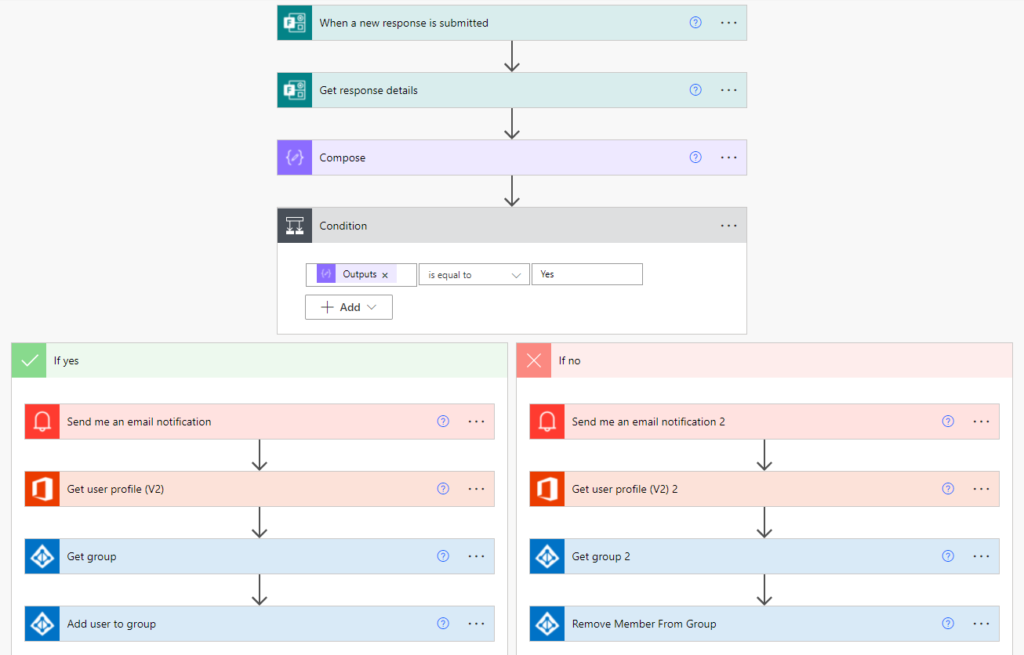
You can then do the same steps for the “No” option if you wish adn can use the “Remove member from the group” option to take the user out of the group if they no longer wish to participate. (At some point in the future I will look to see if I can create a script to remove the registry keys to remove Windows Hello from the computer – removing from the group just prevents Windows Hello the next time the user enrolls a Windows device). The finished flow would look something like the below.
Capturing responses for audit purposes
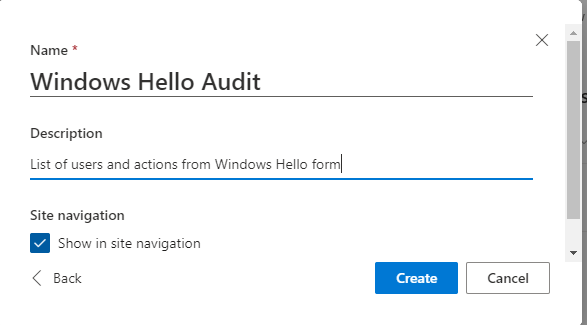
We can then add one final step to the flow if we wish to be able to capture the responces of the users. This relies on having a Sharepoint set up so we can host a list on a site. On a site you own add a new List, then name it and create.
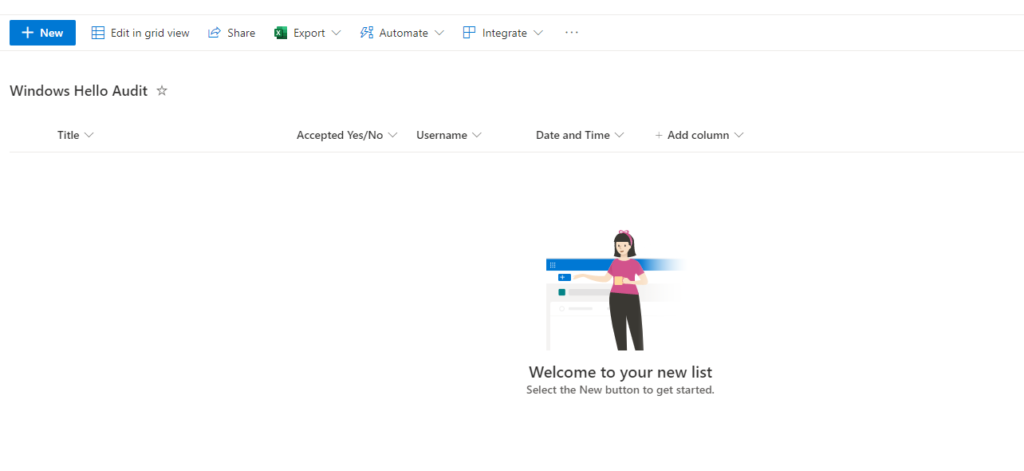
Once created we need some columns for the various data we will be collecting. My example contains the users email address, if they accepted, their display name and the date/time of submission.
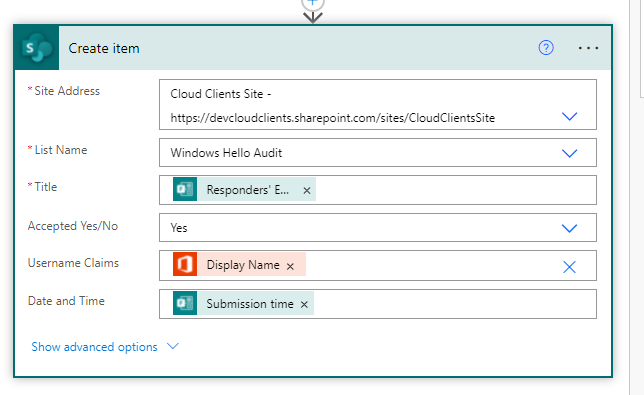
Now back to the flow we want to add a step in to “Create item” for Sharepoint and give it the values we want to display using the options available to us. My example looks like the below.
We can also add a similar repsonse for the using choosing to “opt out” down the “No” branch of the flow changing the Accepted Yes/No above to No. The final flow would look like the below.
Now to test!
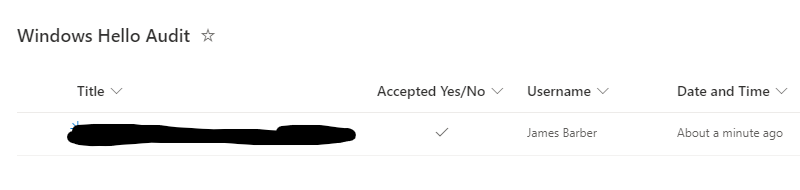
I can now go to the Form as myself and click on the “yes” option and submit my response. I am told the response was submitted! Also checking in the List I can see we now have an audit trail that I said Yes so the flow is working to populate that for auditing purposes along with the date and time I submitted the form.
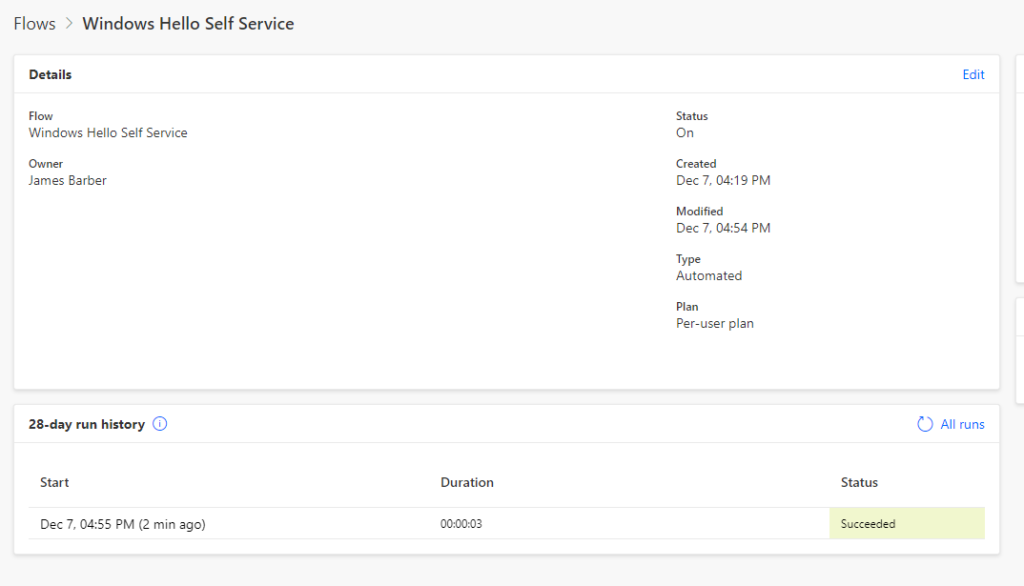
Checking in the flow history I can see a success status which is looking good!
Now with an audit trail and the flow completed I am expecting to see myself in the Azure AD group and thus getting those Windows Hello settings applied to my user account also so lets take a look at that now…..
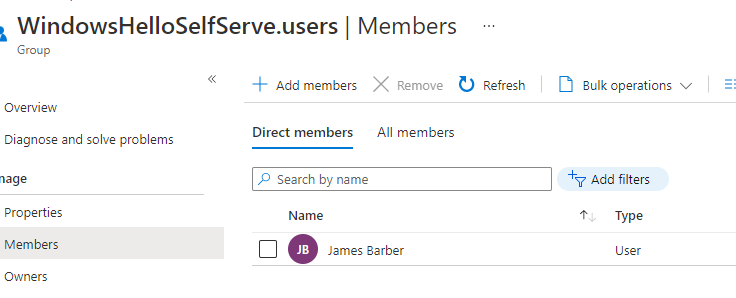
And there we are in the group also which shows the entire process has worked. We can now publish the link to the Form on Yammer or using your method of communicating with your end users or testers to have them sign up.
There are probably many other uses for this kind of workflow but this is just one example I used when I needed to do something similar. I’m no expert in Power Automate so this was a result of trial and error and some Googling along the way to get to this stage but it’s pretty intuitive once you get going.
As I mentioned earlier I will also look to automate the complete removal of Windows Hello in case it is helpful for anyone but in my experience when people start using it they are not going to want to go back to a traditional password. For that we can probably add the user to another group as part of the “No” branch of the flow and use proactive remediations to remove the registry keys that Windows Hello uses but I’ll look into seeing what is possible.