

It seems that this year Microsoft will look to shut down all of it’s popular UserVoice boards which have been a good way in my opinion to get ideas across to Microsoft and vote on them. I guess as times change we interact with people directly via platforms like Twitter which brings us much closer to the product teams than ever before.
This leads me on to a little blog post on something I did to try to replicate that kind of look and feel of the Microsoft User Voice that you can use internally. Maybe you want to keep ideas out of a ticketing system to allow other people to comment/vote on and to bring the element of collaboration into your business and this was the best way I could find to enable that. I am always an advocate of communication where possible across teams and if you are maybe in a company that has distributed IT teams across the world and want to enable people to have their voice heard then check this out. The aim is to create something similar to this below.

Whilst it is not typically an Intune or MEM related post I think it is worthwhile to go through as I could not find anything out there other than maybe having some shared Excel sheet saved in a Sharepoint site.
What are we going to use?
So the tools for this job will probably be present for most people if utilizing Office 365 and the various enterprise or education licenses like E3/E5 etc.
We will mainly rely on Microsoft Lists
With a little bit of help from Power Automate just to provide some ability to calculate how old a post is and to send an email to designated people to moderate posts etc. We can then also do things like post to a Yammer group to raise awareness a new item has been added to allow people in that Yammer group to check the new item and see if they wish to vote for it. It was a bit of trial and error to get something that was usable but I got there in the end.
Creating the list
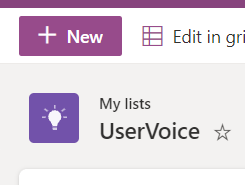
Navigate to Microsoft Lists and if you have created any lists before you will see them here. If not it will be blank but we will want to click on the + New List button
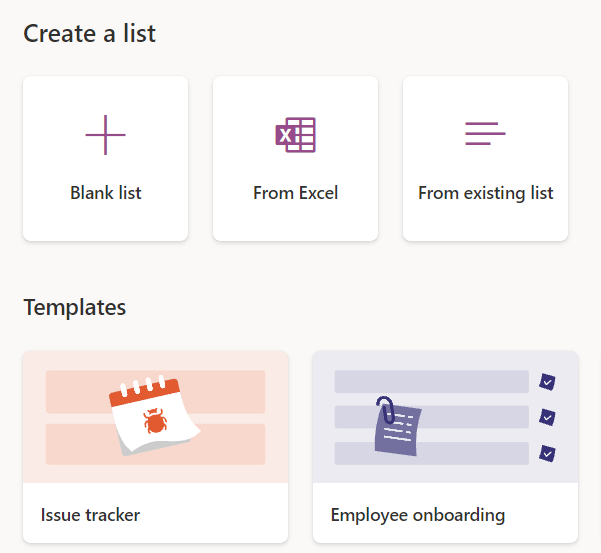
From here you now have the ability to use some templates to help you create a list which you may decide to do if one fits your needs. Maybe for example the Issue Tracker could be used and modified to fit your needs but I will go ahead and create a blank list.
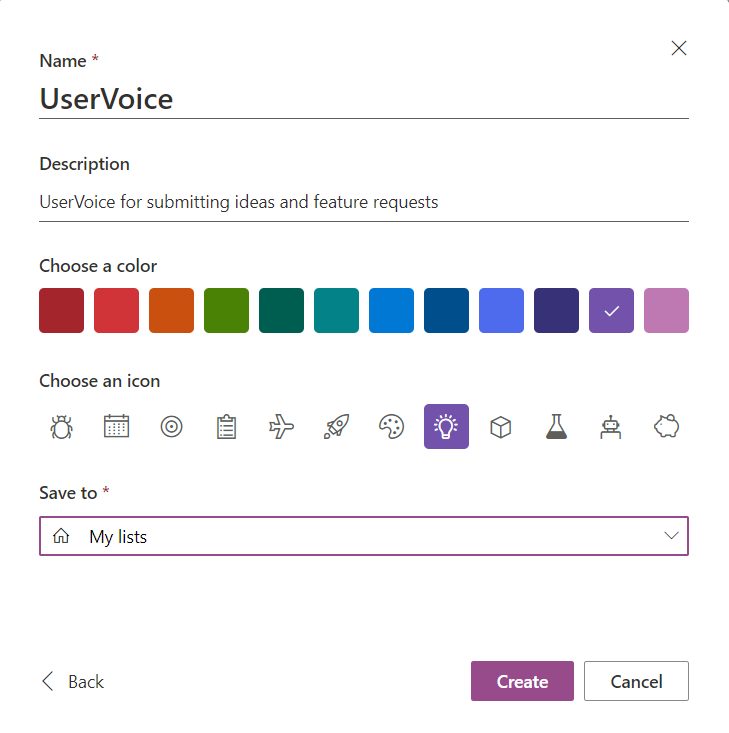
Give the new list a title, description and if required change the color theme and icon.
Adding the list to a Sharepoint Site
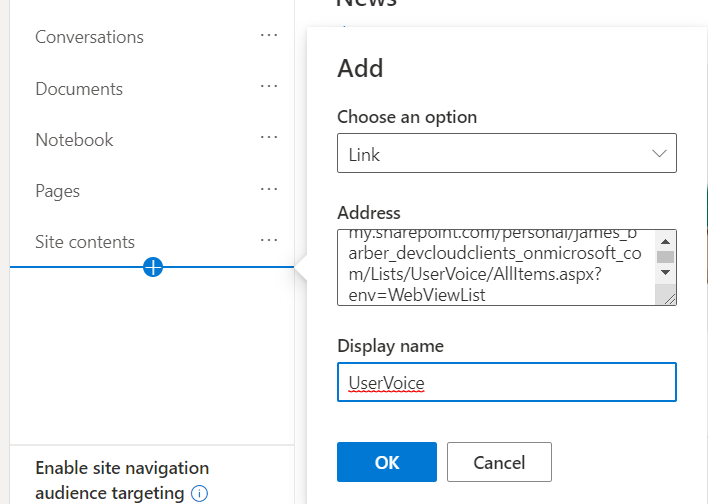
I like to add a link to the List in a Sharepoint site that I know the target audience have access to and are regular visitors. It also helps us later when doing a calculation using Power Automate. In your Sharepoint site you can add a link on the navigation menu and link to the List you created above.
Back to the List
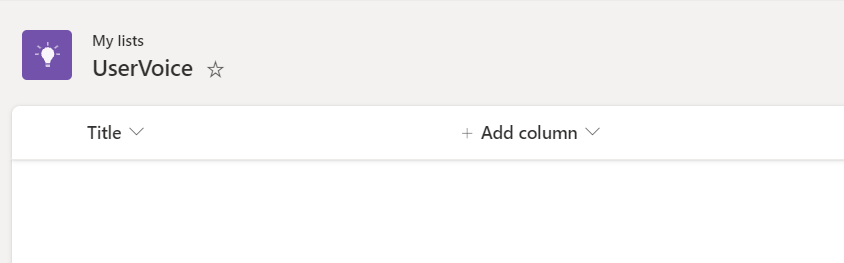
From here we are given a blank list and now it’s up to you to decide on the layout you want and what data you want to be able to capture.
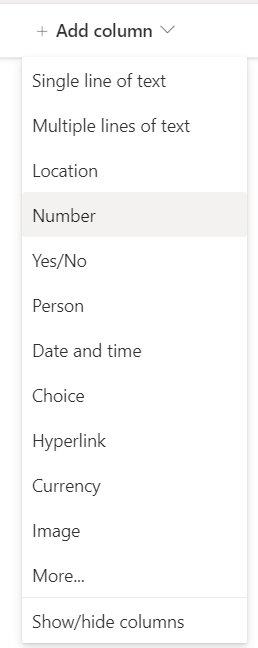
Simply click the Add Column button to add a new column and choose the contents of what you want it to include such as text, date/time, Choices etc
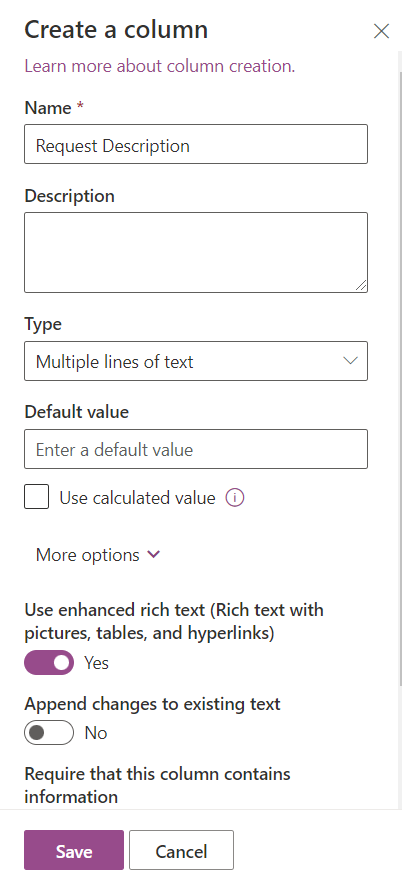
So for example I want to capture a description of what the user is asking for I will select Multiple lines of text and require that this column contains data
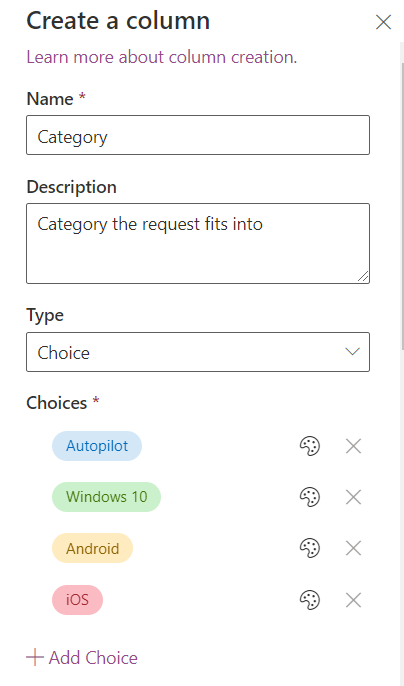
We then have an example of if you wish to present a specific choice so in my example I will include a Category column so we can easily see what it relates to
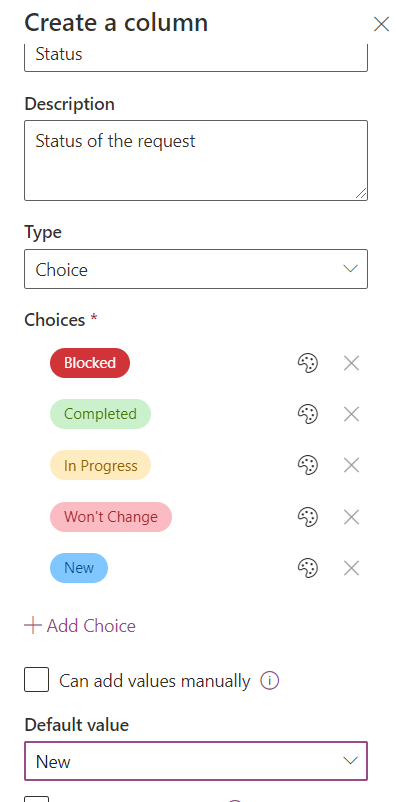
Then there is an another column for the Status and again this is similar to how we have done the choice before but for all new requests I want the default status to be New
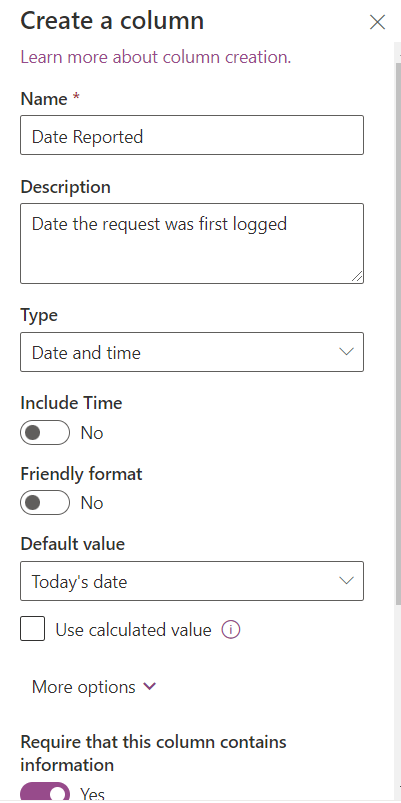
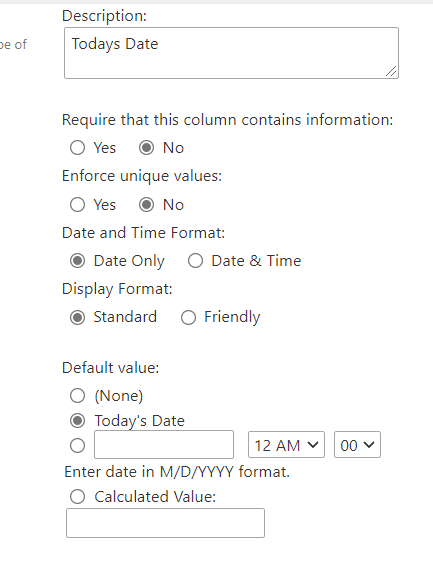
I am now adding a column called Date Reported and will have this automatically use todays date as the default value. This particular column will come in handy later to calculate how old a request is.
Further columns I have set up include Image to enable the user to add in an image file to show something, attachment in case again they will to provide more detail and also an assigned to column to show the users who is working on that particular item.

Special Columns
We now have two or three more special columns that provide either some ability to vote for an item or allow us to calculate a value in order to display some useful information to the end user.
First up is the voting column – I want people to be able to create an item themselves but also then give others the ability to vote that idea up so we know what is important to people. We can then look to prioritize these higher voted list items. This option is hidden a little from plain view but once you know where to look it’s easy to implement.
Vote option
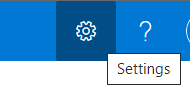
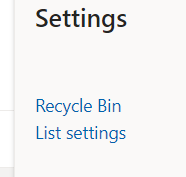
In the top right corner of the page click on the Settings Cog
Then select List Settings
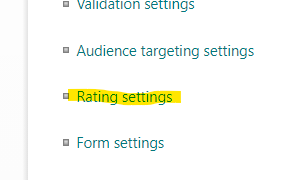
From the next page you need to be looking for the Rating Settings and go in there
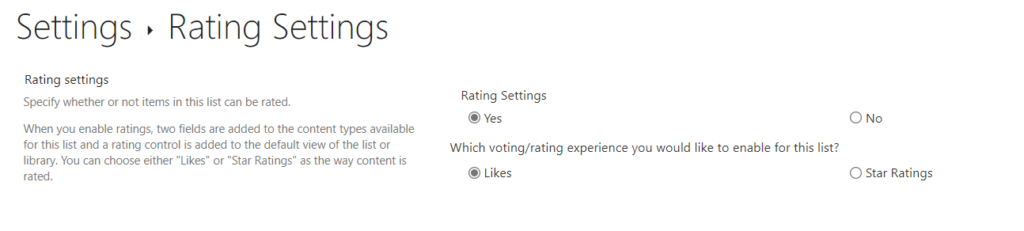
Click on Yes to turn the rating setting on and for me I have gone with the Likes option
Back on the settings page if you scroll down a little you can see all the columns you have set up. I want to change the name to Votes so will click on the “Number of likes” option and change the name to Votes

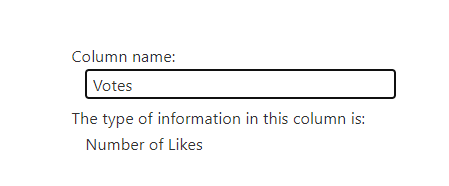
Back over to the list we should now see the “Votes” column visible.

Days Old
Next I wanted to see at a glance how old requests were after being submitted. This is one reason why we wanted the date reported column there so we can use this to calculate how old a request was. For this again we need to go into the same area as we did with the voting so need to be inside the List Settings area.
If we scroll down to columns again and this time Create a column here and call it TodaysDate, select Date and Time as the information in the column and for the default value set Todays Date. We can actually have this column hidden from view as it is not required that anyone sees it
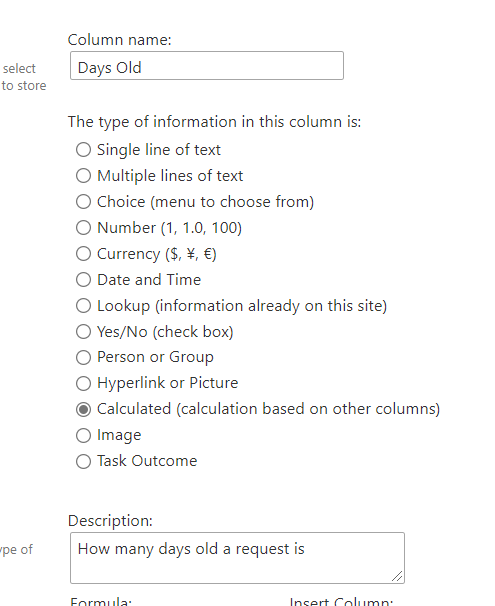
Then create another column and call it Days Old, this is where we will display the result of the calculation we need to show how many days old a request is. Choose Calculated as the data type as below
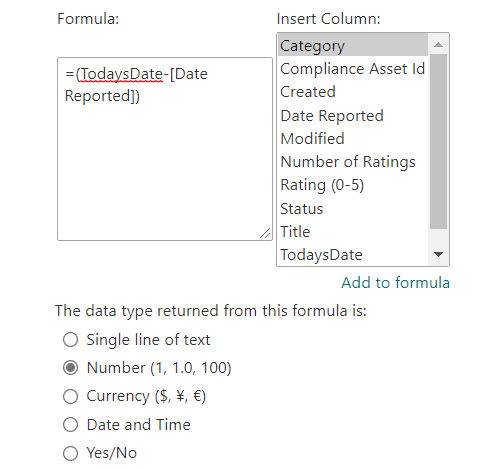
Then we need to make a calculation so in the Formula box copy and paste in the following formula making sure you make any amendments to column names if you have used different ones to me and select number as the data type returned
=(TodaysDate-[Date Reported])
This is one place now where I thought things would work as expected and in most ways they did. We get a new column with the amount of days old a request is. However when people started adding in requests I noticed that when I returned the following day or week the “days old” column was not updating. If I made a change and saved the item the column updated and showed the correct amount of days. So I went on a mission to figure this out as Lists did not automatically update itself unless a change happened.
Power Automate to the rescue
After a lot of googling and looking through forums I managed to somehow find a way to do this. It seems Lists does not refresh itself like I wanted. So hopefully if you also have Power Automate you can get this working if that column is important to you.
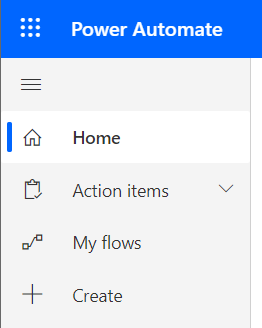
Inside Power Automate click on create to start the creation of a new Flow.
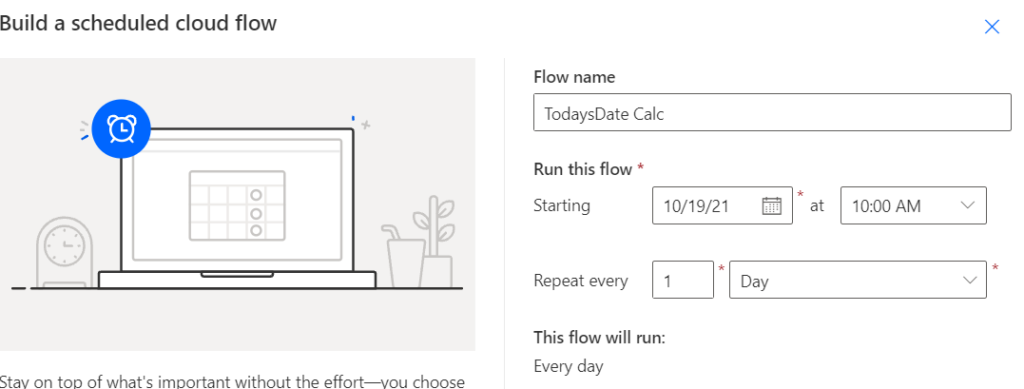
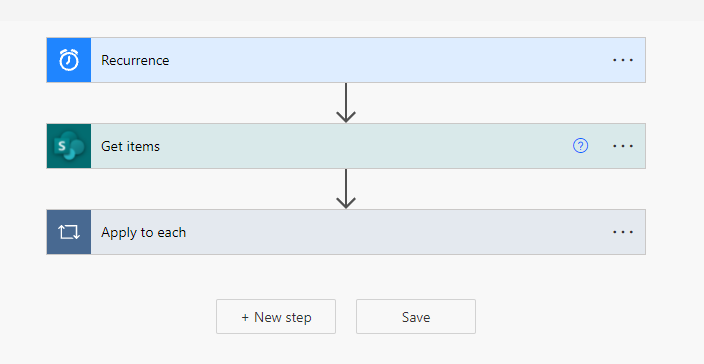
I then choose to create a Scheduled cloud flow, give it a name, I want it to start today and then want it to repeat each day.
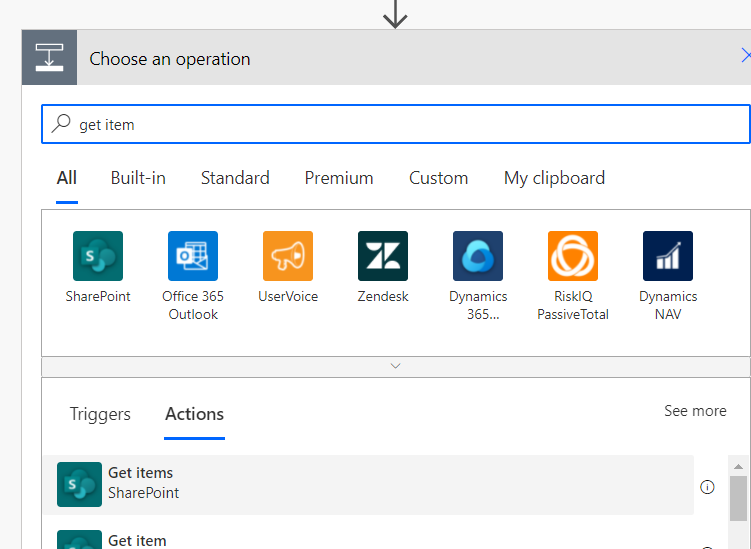
So I now have the start of the flow that I want it to do something everyday, now I want to add a new step and that is in my case to Get Items from Sharepoint. I have the list added as a link to a specific sharepoint site so can use this option
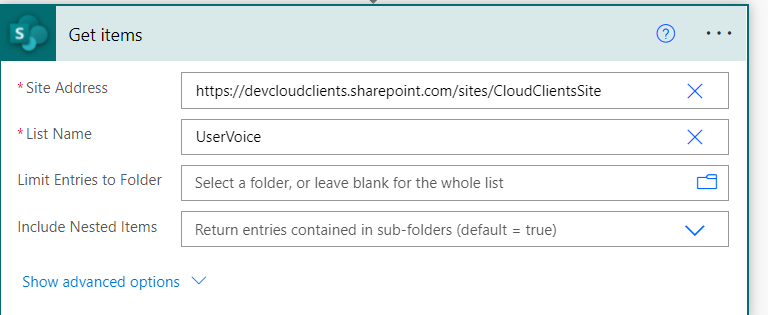
Next enter the Sharepoint site where you linked the List to earlier and then select the List name also
Finally we now want to add one final action and that is to “Apply to each”, select the “value” from the previous steps
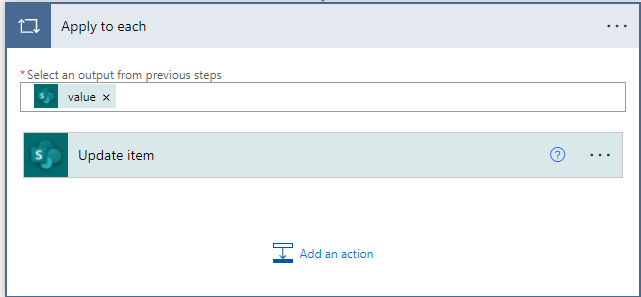
Then I selected all the columns where I wanted the values to be updated. Mainly I wanted to make sure the Todays Date got updated so that the Days old calculation was correct and updated. Also for reasons I cannot remember I also updated the Status and Priority values too. I seem to vaugely recollect that when updating the list with the todays date those values were being reset back to their “default” value which was not what I wanted. The final view of the update item is as follows.

The final flow in it’s basic form looks like below, we can now save and test this to ensure there are no errors
Entering data into the form
To populate the list once shared with your users they can simply click New and enter in the information they want to provide you.
They will then see an area like a form where they can populate the data and save the item
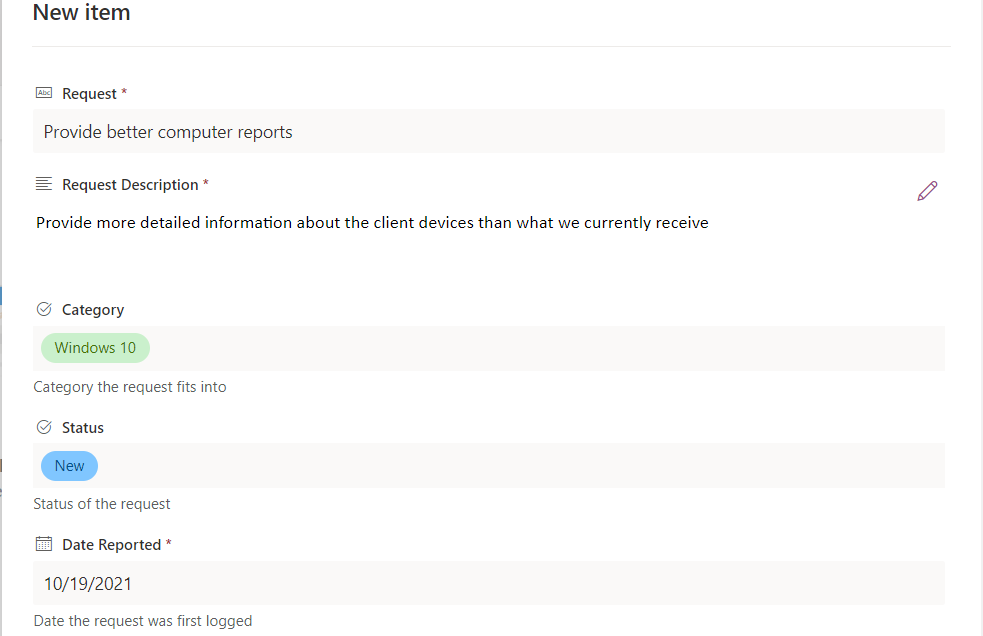
Once saved the item will appear in the list where other users can click on the vote to add their vote and also add in comments to aid the collaboration side of things.
Taking things one step further with Power Automate
We have limitless amounts of things we can do with Power Automate but I’ve not dived too deep into them so here are some added extras just to keep on top of things and market the ideas a little.
Sending an email to specific people when a new list item is created
In Power Automate we now want to choose to create an automated cloud flow and we want this to happen when an item is created in Sharepoint
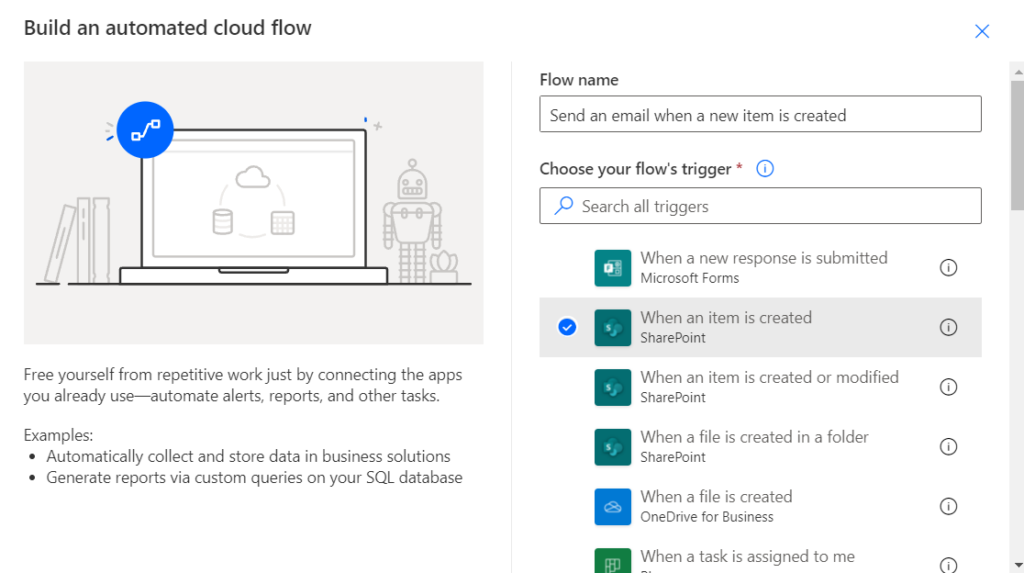
Then add a new step and this one we want to Send an email, we can then choose who we want to mail and can amend the subject and contents
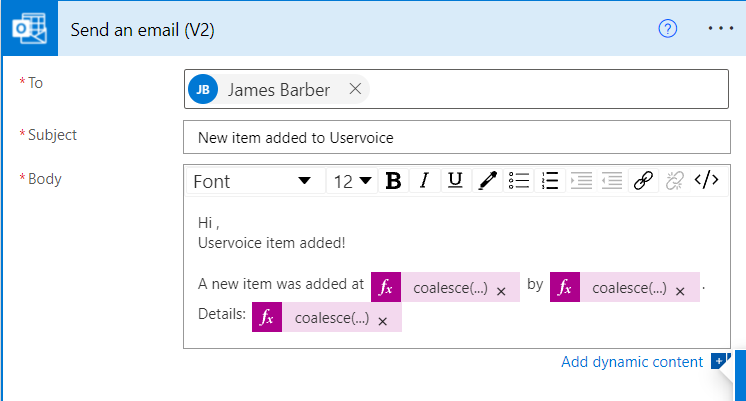
Save and test the flow by adding a new item to the list and the people in the To field should receive a response.
Posting an update to Yammer when a new item is added
Where before we wanted an admin to be notified when a new item was added this time we want the update to be more public so I have a Yammer group created where I know people who would like to be informed when a new item is posted regularly check. This way it gives people the opportunity to have an update so they can go look at the item and add comments or upvote it if they think it needs some momentum.
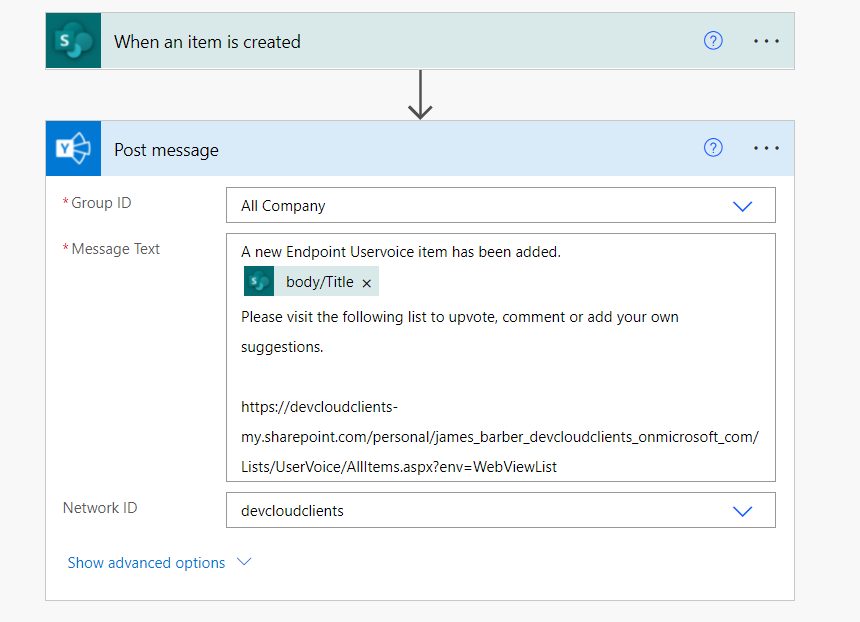
The same type of flow is used like we did with the email so start with the cloud automated flow and the when item is created. Choose the Sharepoint site and list name like we did before then as the next step we want to Post message to Yammer. Select the Yammer group you want to post to and then add in the message. I on this example have chose to post to the All Company Group and the message contains the Title of the List Item and then a link to the Lists
Conclusion
So there we have it we have a relatively easy way of creating an internal user voice like system. As with anything you can use lists to create all manner of different solutions but I found that this fit my needs to provide a more collaborative way of gathering other peoples “nice to haves” and see if there is enough interest or need for the same ideas across the company. Then you have the data to prioritize what is most important for people where they can collaborate on ideas together and not have things hidden away in ticketing systems.