

One thing I always like to do it try to make things a little easier for people and try to automate things where possible and in Intune I really like the ability to use Proactive Remediations to detect and remediate things which may be a problem. There are some really good blogs out there that do all manner of things like detecting a problem and popping up a toast notification etc but the one problem I sometimes see with that is people may dismiss it and not follow through with instructions or you may have something that a user maybe cannot do themselves or doesn’t feel comfortable doing.
So one thing I wanted to learn how to do was utilize Proactive Remediations to detect an issue and then within the remediation have the ability to send a mail to someone/somewhere to then be able to act upon that or assign it to an engineer to help the user. Initially looking into this it was pretty easy to do using the Send-MailMessage cmdlet in Powershell so in test I could do what I needed to but the above command is now obsolete according to Microsoft and it also uses legacy authentication so it’s not something we can use in production so that got thrown out the window pretty sharpish.
Looking into the alternatives it seemed that the way to go was with the Graph API and using Powershell to do the work for us. One problem with that! I’ve never used the Graph API other than a very small poke around in the Graph Explorer, disaster?!
Not to worry too much, I remember seeing a lot of talk and links to blogs about Graph on Twitter so I thought now is the best time to learn something new. Now it would of been pretty easy to find another blog on how to actually do something similar and copy/edit it to fit my needs and parts of my script are parts I’ve used from Microsoft docs or other articles but I want to understand what is going on for myself as it will be useful for many other tasks. A lot of articles did not explain things that well and seemed pretty dry until I saw the series that Sean Bulger did at his blog here. He has an entire series on it and its written from an admin point of view not a developer so makes more sense than anything else I could find. Spolier! This does not make me an expert on Graph, far from it I’d say I’m a complete amateur still but I have an understanding and the basics to set me off down to path to learn more. Thanks Sean!
Back to the point – the background
So for my example the basis will be around looking for machines with a low percentage free disk space and then if that is below a certain threshold that we can determine the remediation script will trigger and send an email to a helpdesk mailbox so a ticket is logged that can then be assigned to a technician to help the user resolve the problem. The helpdesk system in use can just take an email sent to a mailbox and converts them to tickets. You could probably get a bit more fancy and use an API to log a job but this system doesn’t have that ability so we will stick with the mail.
Initial setup
First of all we can’t just write a Powershell script and put it in Intune to do all this without some kind of up front work to make it all happen behind the scenes. We need to make sure an App Registration is created and that we give it the permissions required to be able to send the mail and obtain all the details we need to enter into the script to allow it to take place. I’ll go through the steps I’ve gone through first in my test tenant to show what I did to make this happen. Don’t worry if you’ve not done this before this was my first real run through this so if in doubt sign up to a M365 developer tenant and just give these things a try.
Creating an app registration
Open up Azure Active Directory in your tenant and click on App Registrations
Click on New Registration
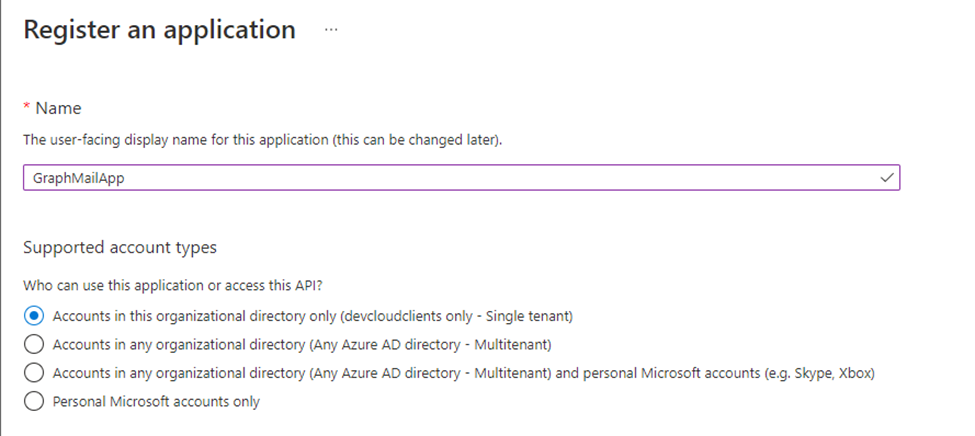
Name the application and leave the supported account types to the single tenant option
Then click Register
You will now be taken back to the overview page of the application you just registered.
From here we need to give the app API permissions to be able to send the email via Graph. So from the overview page click on API Permissions.

Once in the Configured Permissions screen click on the Add a permission button

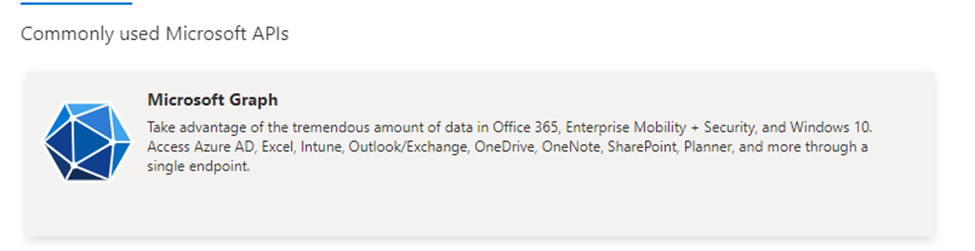
The one we want is conveniently jumping out at the top of the page at us so click on Microsoft Graph
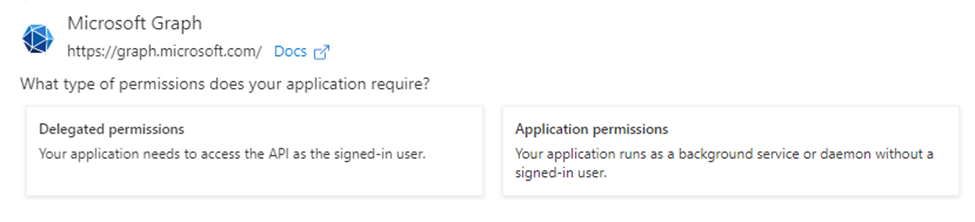
Now we have two options “Delegated Permissions” and “Application Permissions” and they do different things as expected. If you use a Delegated Permission the application will need to access the API as the signed in user and as we want this process of sending a mail to be automated we don’t want that option. We need to choose the Application Permissions as this as it states allows us to run the application as a background service so select this one
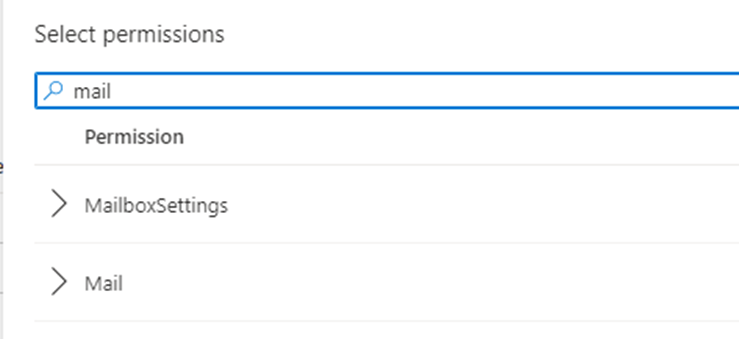
From the next step we need to select what permissions we require. You have a huge array of permissions to go for here so you can pretty much automate anything you can think of. All we need to do is send a mail. Start typing “mail” into the filter box and it will narrow your choices down.
Expand the mail option to see the permissions we can select.
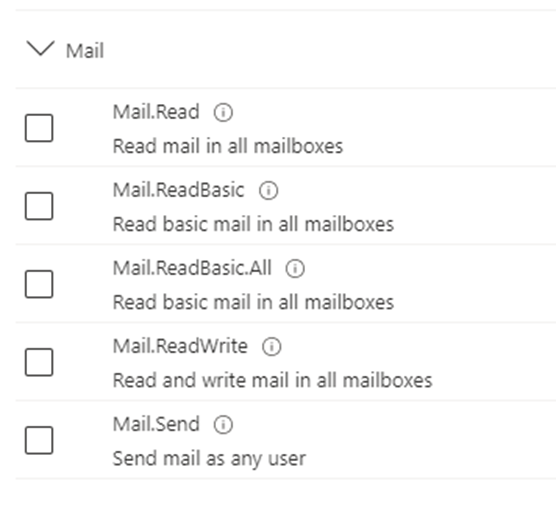
From here we want to select the last option only to be able to send a mail. Do note the part where it states send mail as any user. Also if you hover over the information icon you will see the below
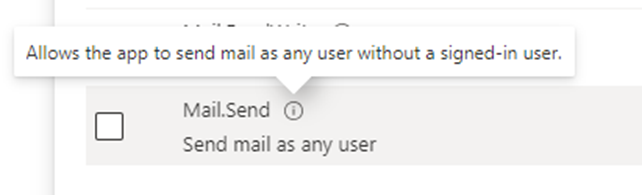
So you need to be aware granting this permission will allow this app to send mail as any user in your organisation. The good news is there are some brilliant articles already produced out there which has a way to secure this somewhat.
Tick the mail.send permission
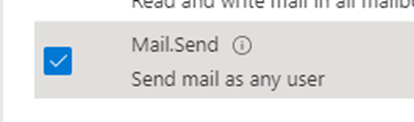
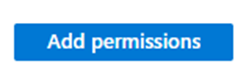
And then click Add Permissions as we don’t need anything else for this task.
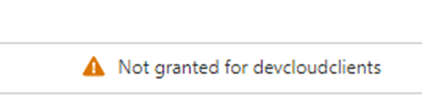
Once back at the Configured permissions page you will notice that there is a warning symbol on the permission, this is because we need to grant admin consent for the permission before it is active
To do this simply click the Grant admin consent button

Click yes to agree to the admin consent
We can now see we have granted the consent for the permission.

Once that is complete we have one more thing remaining to do so from here click on “Clients & Secrets”

We need a client secret to allow the application to identify itself ton the authentication service. The client secret is a time limited thing so once it expires the application will stop working until you replace it with a new one.
Also note that when you create the client secret you need to copy it and save it somewhere secure as once created you will not be able to go back and see it again. So now we know that we can proceed.
Click New Client Secret
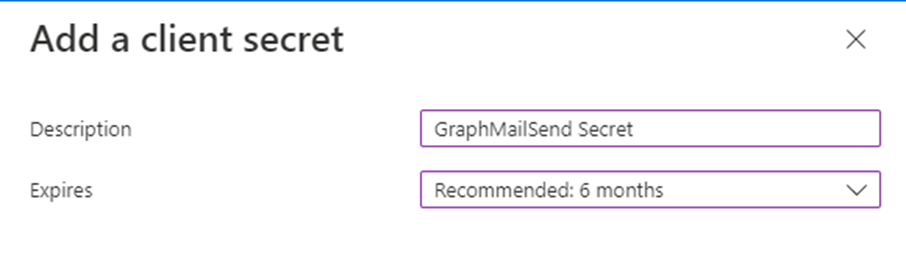
Name the secret something meaningful to you and set the expiry time, I’ve left it at the default 6 months as I will likely delete after some testing.
You will now see the details so copy them somewhere safe as we will need them later

(Note I’ve already deleted this secret before the blog goes live which is why I’ve not blurred the image)
Also some more information we will need later when constructing the script is the application ID or sometimes called the Client ID and the Directory ID or sometimes called the tenant ID. You can find these on the Overview page.
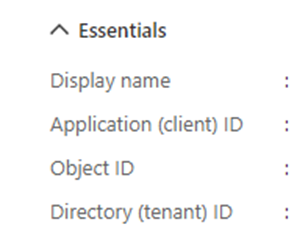
Take a copy of those also and it will save having to jump back into the portal all the time.
Detection script in Intune
I’m not going to step through the basics of running through how to set up the Proactive Remediation scripts in Intune as there are a mountain of blogs already doing just that so have a quick search on Google for those.
Below is the detection script I have for this particular demo, detect the free space on the client device and then if it is less than 10% exit with exit code 1 which will tell Intune to fire off the remediation script. In the remediation script you will see we grab a few other bits of information to help make the email make sense and be usable.
I’ve uploaded the scripts to my GitHub if you want to grab them they are sanitized so just replace any required values with your own.
#====================================================================================================

# Script Name:     Get-Diskspace.ps1
# Description:     Detects the free disk space on the clients
# Notes:           To be used as Intune Detection script
# Author:          James Barber
# Date:            20th June 2022
#=======================================================================================================
$os = Get-CimInstance Win32_OperatingSystem
$systemDrive = Get-CimInstance Win32_LogicalDisk -Filter "deviceid='$($os.SystemDrive)'"
$PercentFree = ($systemDrive.FreeSpace/$systemDrive.Size) * 100
$PercentRounded = [math]::Truncate($PercentFree)
if ($PercentFree -le '10') {
    Write-Output "Low disk space. Free Space is $PercentRounded %"
    exit 1
}
else {
    Write-Output "Disk space is OK. Free Space is $PercentRounded %"
    exit 0
}
Remediation script
Again this script is available in my Github so feel free to use it. So the first part does a little repeat of the above to get the % free space so we can utilise that in the mail content, also then I’m pulling out the computername and username for the device so when we send the mail in to create a ticket the helpdesk know who to log it against and where it needs to be assigned. Then the remaining parts contain all the information needed to make the connection to Graph using the App Registration we created earlier, obtains the authorization token needed and then constructs the email body and last but not least sends the mail.
#=======================================================================================================
# Script Name:     Remediate_Diskspace.ps1
# Description:     Can be used to send a mail to helpdesk to log a job for diskspace issues
# Notes:           To be used as Intune Detection script
# Author:          James Barber
# Date:            20th June 2022
#=======================================================================================================
#This section gets the information about the disk space so we can use it to form the email

$os = Get-CimInstance Win32_OperatingSystem
$systemDrive = Get-CimInstance Win32_LogicalDisk -Filter "deviceid='$($os.SystemDrive)'"
$PercentFree = ($systemDrive.FreeSpace / $systemDrive.Size) * 100
$PercentRounded = [math]::Truncate($PercentFree)

#This section gets the computer name and logged on user so we can provide this to the helpdesk when logging the case

$ComputerInfo = Get-ComputerInfo
$ComputerName = $ComputerInfo.CsName
$CurrentLoggedOnUser = (Get-WmiObject -Class win32_computersystem).UserName

#Variables required for mail and graph request

$tenantID = "Your tenant ID"
$clientID = "Your Client ID"
$clientsecret = "Your Client Secret"
$EmailSubject = "Low Disk Space Notification"
$MailSender = "Your Sending mail address"
$MailRecipient = "Your recipient"
$MailBodyContent = "The computer $ComputerName currently only has $percentrounded % free disk space. Username for this machine is $CurrentLoggedOnUser . Please log to technician to have them assist in freeing up some space proactively."

#Obtain Auth token

$AuthBody = @{
    client_id     = $clientID
    client_secret = $clientSecret
    scope         = "https://graph.microsoft.com/.default"
    grant_type    = "client_credentials"
}

$accesstoken = Invoke-WebRequest -Uri "https://login.microsoftonline.com/$tenantID/oauth2/v2.0/token" -ContentType "application/x-www-form-urlencoded" -Body $AuthBody -Method Post

$accessToken = $accessToken.content | ConvertFrom-Json

$authHeader = @{
    'Content-Type'  = 'application/json'
    'Authorization' = "Bearer " + $accessToken.access_token
    'ExpiresOn'     = $accessToken.expires_in
}

#Constructing the mail body

$body =
@"
{
    "message" : {
    "subject": "$EmailSubject",
    "body" : {
    "contentType": "html",
    "content": "$MailBodyContent"
    },
    "toRecipients": [
    {
    "emailAddress" : {
    "address" : "$MailRecipient"
    }
    }
    ]
    }
    }
"@

#Sending the email

Invoke-RestMethod -Headers $authHeader -URI "https://graph.microsoft.com/v1.0/users/$MailSender/sendMail" -Body $body -Method POST -ContentType 'application/json'
So this is all the parts that we need in theory for the script to work and for the mail to be sent!
Did it work?
Shortly after running the script a mail has appeared from Adele Vance to the helpdesk to ask us to assign this to a technician to be looked into. So it looks pretty good to me! (For testing set the % free space threshold to be something that will trigger the remediation to run!)

Security part!
One thing I have not covered in the main blog above is granting that particular Graph API permission gives the application the ability to send mail from anyone in the entire organization so if it got into the wrong hands there is a chance someone could impersonate anyone in your company and send mail so with this in mind you may want to lock it down a little. It’s definitely something you should implement if doing this in production. As you can see in the last line of the script you can just change the $MailSender with anyone that easily!
I’m not going to demo that part here but here is a link to the Microsoft Docs which details how to do this in Exchange Online.
Basically what you need to do is create a mail enabled security group, add in the mailbox of the account you want to permit access to and then create an Application Access policy which allows the client ID of the app permission to use the mailbox.
That’s it!
So using that example works pretty well you can set that up on a schedule using Proactive Remediations and whenever a machine goes under the % free threshold a mail will get triggered to the address of your choice.
There are many more potential things this could be used for and when there are more that I do I’ll make sure to share them.